Image Segmentation with Segment Anything: A Python Tutorial
Learn image segmentation with Segment Anything (SAM) in Python: point and box prompts, masks, bounding boxes, automatic mode, and honest limitations.
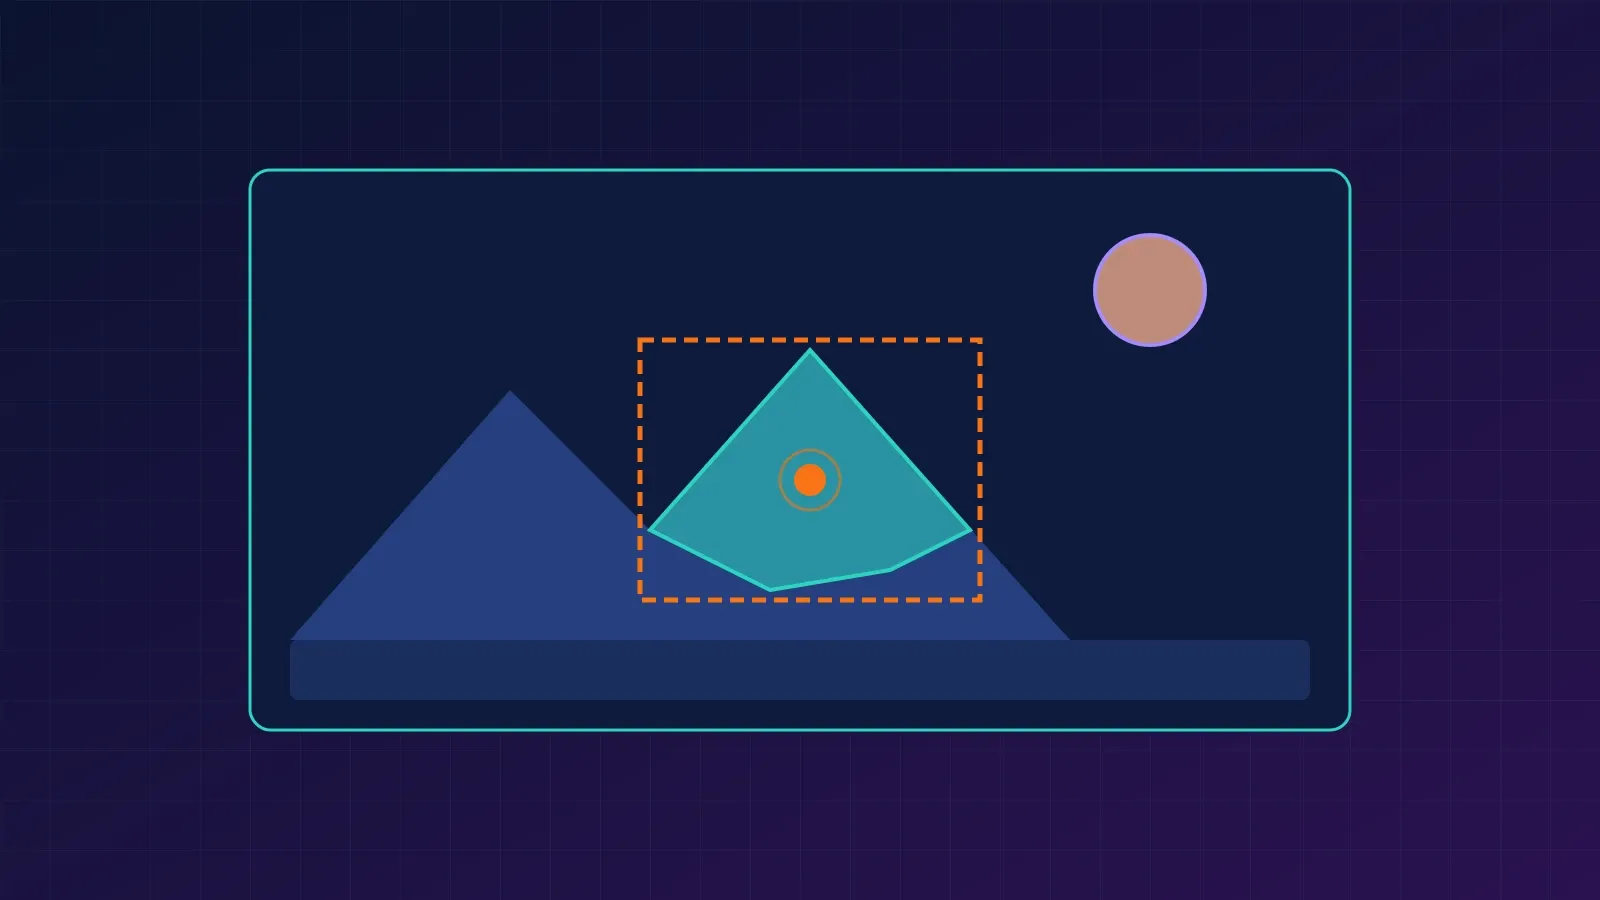
Image segmentation with Segment Anything (SAM) lets you cut an object out of a photo by clicking on it or drawing a box around it. No training, no labelled dataset, no fixed list of classes. You give the model a hint, and it returns a mask: a per-pixel map of exactly which pixels belong to the object.
In this tutorial you will learn what SAM is and how it works, run it in Python with point prompts, box prompts, and automatic mode, turn masks into bounding boxes and areas, compare masks with Intersection over Union, and understand where SAM fails. You will also see how newer models in the Segment Anything line change the picture.
What Is Image Segmentation?
Image segmentation assigns labels at the pixel level. Instead of a rough rectangle around a bicycle, you get the exact shape of the bicycle. Three terms come up often:
- Semantic segmentation: every pixel gets a class (road, sky, person).
- Instance segmentation: each separate object gets its own mask.
- Promptable segmentation: you tell the model what to segment, using a click, a box, or (in newer models) text.
SAM belongs to the third group. It is a foundation model: one large pretrained model meant to work across many images and tasks without retraining.
What Is the Segment Anything Model (SAM)?
SAM was released by Meta AI in 2023. According to the paper, it was trained on a dataset called SA-1B, with over one billion masks across roughly 11 million images, built with a model-in-the-loop annotation process. The result is a model that can produce a plausible mask for a surprisingly wide range of objects it was never explicitly trained to name.
One detail matters for everything that follows: the original SAM finds shapes, not meanings. It tells you which pixels belong together, but it does not tell you that the object is a “dog”. For that you need a classifier, a detector, or a newer promptable model that accepts text.
How SAM Works
SAM has three parts, and the design is what makes it feel interactive.
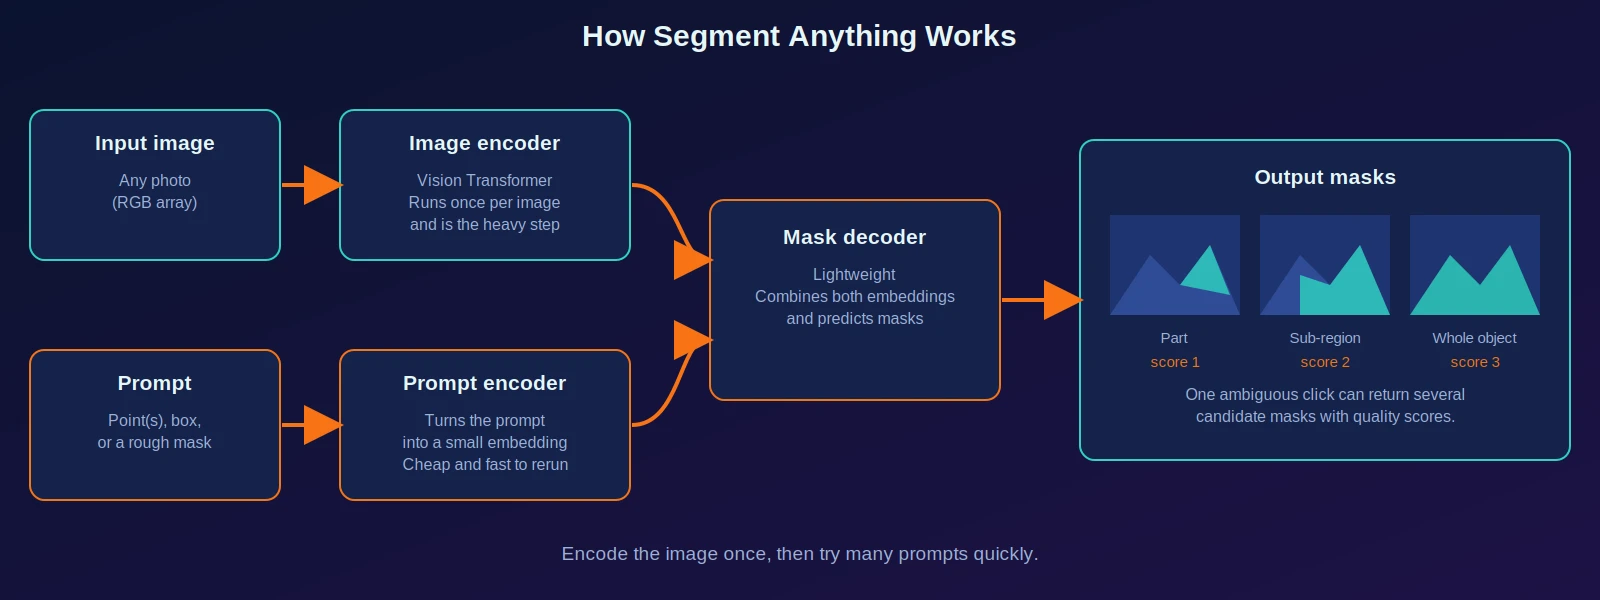
- Image encoder. A large Vision Transformer turns the image into an embedding. This is the heavy step, and it runs once per image.
- Prompt encoder. Your point, box, or rough mask becomes a small embedding. This is cheap.
- Mask decoder. A lightweight network combines both embeddings and predicts masks.
Because the expensive encoding happens once, you can try many prompts on the same image quickly. In the code below, set_image() is the slow call and predict() is the fast one.
Why one click can return three masks
A single point is ambiguous. If you click on a person’s shirt, do you mean the shirt, the whole person, or the person plus the bag they carry? SAM handles this by returning several candidate masks with a quality score each (usually three: roughly a part, a larger region, and the whole object). You choose, or you take the one with the highest score.
Three Ways to Prompt SAM
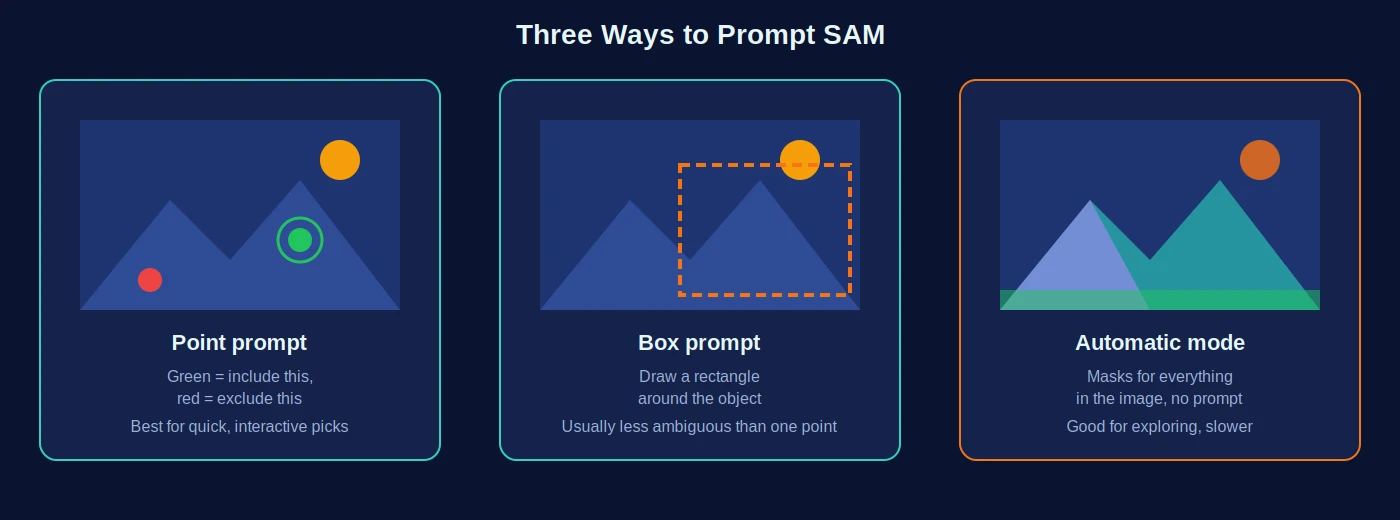
| Prompt | What you provide | Best for | Watch out for |
|---|---|---|---|
| Point | One or more (x, y) clicks, each marked foreground (1) or background (0) | Quick interactive selection | Ambiguity with a single click |
| Box | A rectangle [x1, y1, x2, y2] | Cleaner, less ambiguous masks | Loose boxes can include neighbours |
| Automatic | Nothing; SAM proposes masks for the whole image | Exploring an image, bulk proposals | Slower; many masks to filter |
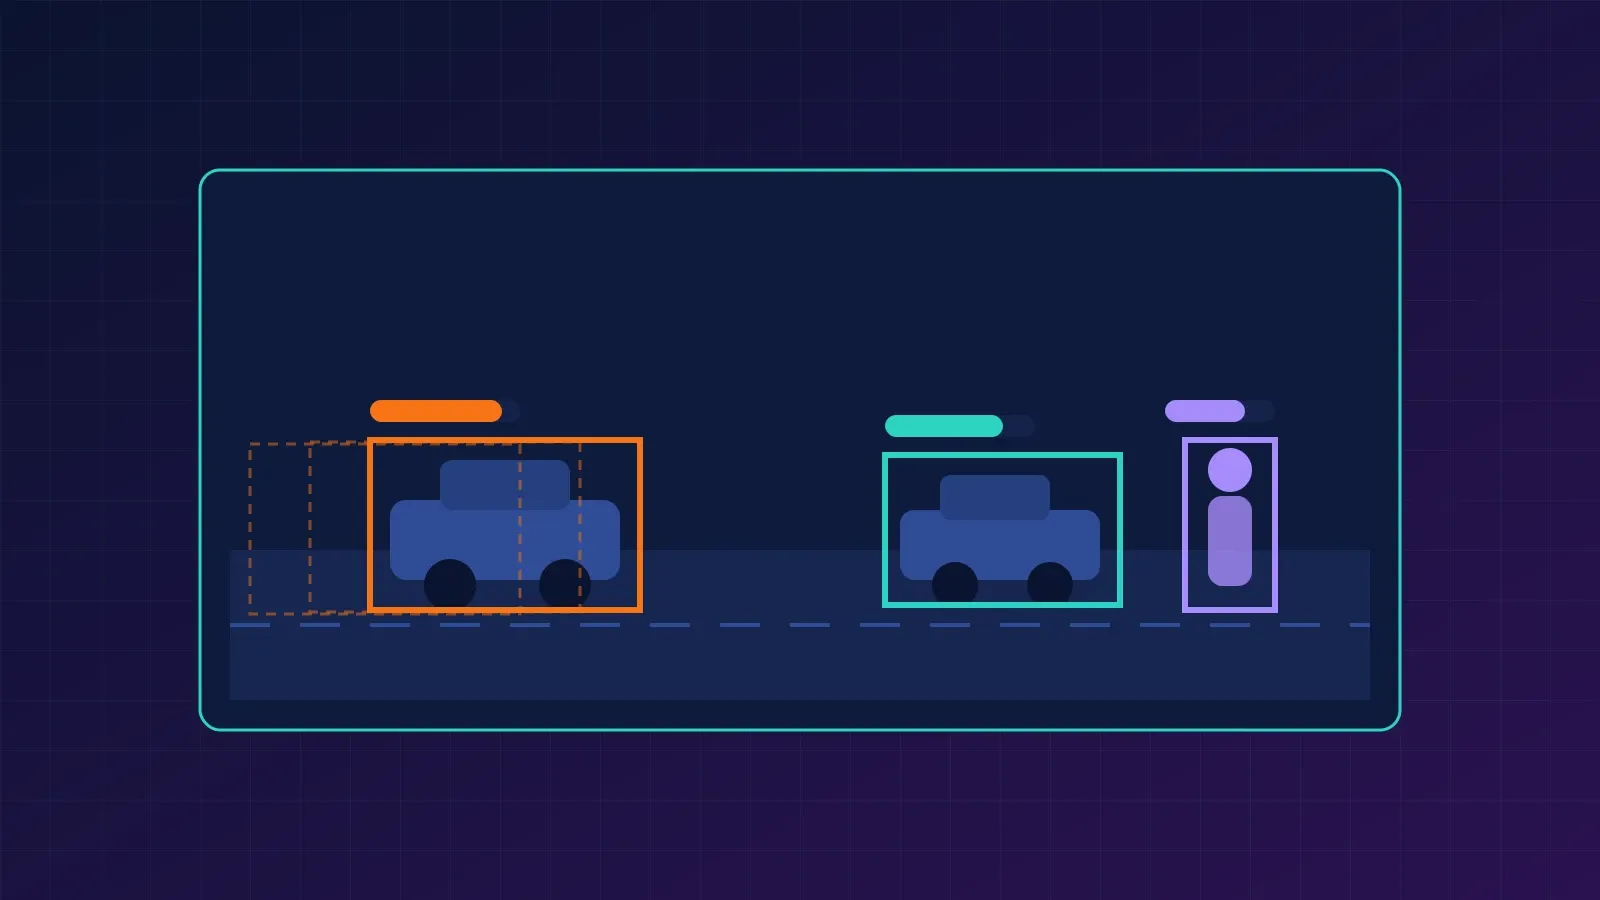
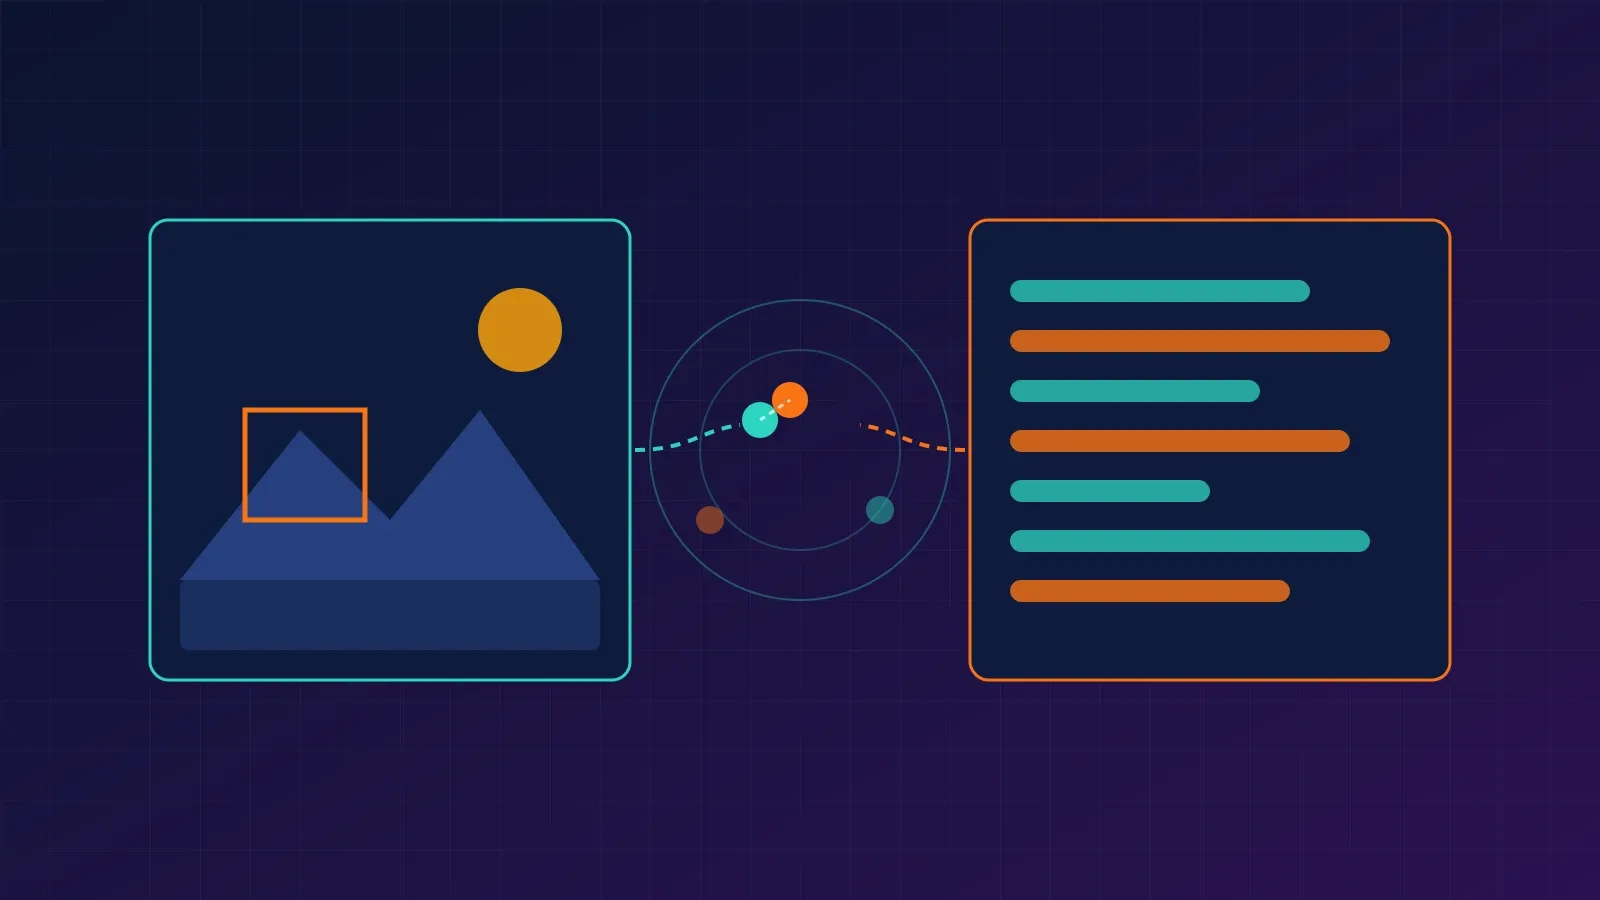
The figures in this article are illustrations drawn to explain the concepts. They are not outputs of a SAM run.
Setup
Install the package from the official repository, plus the libraries used for display:
pip install git+https://github.com/facebookresearch/segment-anything.git
pip install opencv-python matplotlib torch torchvision
Next, download one model checkpoint. Three sizes are available:
| Model type | Checkpoint file | Approx. size | Trade-off |
|---|---|---|---|
vit_b | sam_vit_b_01ec64.pth | 375 MB | Smallest and fastest |
vit_l | sam_vit_l_0b3195.pth | 1.2 GB | Middle |
vit_h | sam_vit_h_4b8939.pth | 2.4 GB | Largest, most accurate, slowest |
Start with vit_b. It runs on CPU, slowly, and much faster on a GPU. Download links are listed in the official repository’s model checkpoints section, and the file names above should match the model type you choose.
Tutorial: Segment Objects in Python
Put a photo called street.jpg in your working folder. Replace the click coordinates below with a point that lies on an object in your own image.
Step 1: Load the image and the model
import cv2
import numpy as np
import torch
import matplotlib.pyplot as plt
from segment_anything import sam_model_registry, SamPredictor

device = "cuda" if torch.cuda.is_available() else "cpu"

image = cv2.imread("street.jpg")
image = cv2.cvtColor(image, cv2.COLOR_BGR2RGB)   # OpenCV loads BGR; SAM expects RGB

sam = sam_model_registry["vit_b"](checkpoint="sam_vit_b_01ec64.pth")
sam.to(device=device)

predictor = SamPredictor(sam)
predictor.set_image(image)                       # slow step: runs the image encoder once
Step 2: Add display helpers
def show_mask(mask, ax, color=(0.18, 0.83, 0.75, 0.6)):
    h, w = mask.shape
    overlay = mask.reshape(h, w, 1) * np.array(color).reshape(1, 1, 4)
    ax.imshow(overlay)

def show_points(coords, labels, ax):
    pos = coords[labels == 1]
    neg = coords[labels == 0]
    ax.scatter(pos[:, 0], pos[:, 1], color="lime", marker="*", s=300, edgecolor="white")
    ax.scatter(neg[:, 0], neg[:, 1], color="red", marker="*", s=300, edgecolor="white")

def show_box(box, ax):
    x1, y1, x2, y2 = box
    ax.add_patch(plt.Rectangle((x1, y1), x2 - x1, y2 - y1,
                               fill=False, edgecolor="orange", linewidth=3))
Step 3: Segment with a point prompt
point = np.array([[500, 375]])   # (x, y): column first, then row
label = np.array([1])            # 1 = foreground, 0 = background

masks, scores, logits = predictor.predict(
    point_coords=point,
    point_labels=label,
    multimask_output=True,       # return several candidate masks
)

print(masks.shape)   # (3, height, width), boolean masks
print(scores)        # three quality scores

for i, (mask, score) in enumerate(zip(masks, scores)):
    plt.figure(figsize=(8, 6))
    plt.imshow(image)
    show_mask(mask, plt.gca())
    show_points(point, label, plt.gca())
    plt.title(f"Mask {i + 1}, score {score:.3f}")
    plt.axis("off")
    plt.show()

best_mask = masks[np.argmax(scores)]
You should see three overlays on the same click, from smaller to larger regions. Compare them, then use best_mask or pick the one that matches your intent.
Step 4: Segment with a box prompt
box = np.array([300, 200, 700, 520])   # [x1, y1, x2, y2] in pixels

masks, scores, _ = predictor.predict(
    point_coords=None,
    point_labels=None,
    box=box[None, :],
    multimask_output=False,            # a box is usually specific enough for one mask
)

plt.figure(figsize=(8, 6))
plt.imshow(image)
show_mask(masks[0], plt.gca())
show_box(box, plt.gca())
plt.axis("off")
plt.show()
Step 5: Refine with a background point
If the mask leaks onto a neighbouring object, add a click on the area you do not want:
points = np.array([[500, 375], [300, 400]])   # one include, one exclude
labels = np.array([1, 0])

masks, scores, _ = predictor.predict(
    point_coords=points,
    point_labels=labels,
    multimask_output=False,
)
Step 6: Turn a mask into a bounding box and an area
A mask is a boolean array. The helpers below convert it into a bounding box, measure its area, and compare two masks with Intersection over Union (IoU). They need only NumPy:
import numpy as np

def mask_to_bbox(mask):
    """Return (x1, y1, x2, y2) in pixel coordinates, inclusive, or None if empty."""
    ys, xs = np.where(mask)
    if len(xs) == 0:
        return None
    return int(xs.min()), int(ys.min()), int(xs.max()), int(ys.max())

def mask_iou(a, b):
    """Intersection over Union of two boolean masks."""
    inter = np.logical_and(a, b).sum()
    union = np.logical_or(a, b).sum()
    return float(inter / union) if union else 0.0

# Two 10x10 toy masks
a = np.zeros((10, 10), dtype=bool); a[2:6, 2:7] = True    # 20 pixels
b = np.zeros((10, 10), dtype=bool); b[4:8, 3:8] = True    # 20 pixels

print("bbox a:", mask_to_bbox(a))
print("bbox b:", mask_to_bbox(b))
print("area a:", int(a.sum()))
print("IoU   :", round(mask_iou(a, b), 3))
Output:
bbox a: (2, 2, 6, 5)
bbox b: (3, 4, 7, 7)
area a: 20
IoU   : 0.25
The IoU of two masks is the overlap divided by the combined area:
Here is the number of pixels both masks include, and is the number of pixels in either. In the toy example the masks share 8 pixels and together cover 32, so the IoU is 8 / 32 = 0.25. An IoU of 1 means identical masks; 0 means no overlap. Use it to compare SAM’s output against a mask you drew by hand.
Step 7: Let SAM propose masks for the whole image
from segment_anything import SamAutomaticMaskGenerator

mask_generator = SamAutomaticMaskGenerator(sam)
results = mask_generator.generate(image)

results = sorted(results, key=lambda r: r["area"], reverse=True)
print(len(results), "masks proposed")

first = results[0]
print(first.keys())          # includes segmentation, area, bbox, predicted_iou, stability_score
x, y, w, h = first["bbox"]   # XYWH format, different from the (x1, y1, x2, y2) used above
Automatic mode returns many overlapping masks, so you will normally filter by area, predicted_iou, or stability_score. It is slower than prompting and is better for exploration than for precise results.
Note: the SAM code in this tutorial follows the usage pattern of the official segment-anything package, but it was not executed while this article was prepared, because model checkpoints could not be downloaded in the writing environment. Only the NumPy helpers in Step 6 were run, and their output is real. Run the rest on your machine before relying on it.
Common Mistakes and Troubleshooting
- Colours look wrong, masks are poor. OpenCV loads images as BGR. Convert to RGB before
set_image(). - Click lands in the wrong place. Point coordinates are
(x, y), meaning column then row. NumPy indexing is[row, column]. - Forgetting
set_image().predict()needs an image embedding first. - Mixing box formats. Prompts use
[x1, y1, x2, y2]. The automatic generator’sbboxfield is[x, y, width, height]. - Out-of-memory errors or very slow runs. Switch to
vit_b, use a GPU, or shrink very large images. - Using
multimask_output=Truefor everything. It is useful for single clicks. With a box or several points,Falseis usually better. - Trusting the top score blindly. The score estimates mask quality, but it can be wrong. Look at the result.
SAM, SAM 2, and SAM 3: Which One Do You Need?
The Segment Anything line has grown beyond the original model. SAM 3, released by Meta in November 2025, can detect, segment, and track objects in images and video using text prompts and example images, not only clicks and boxes. It finds every instance matching a short concept such as “yellow school bus”. Meta’s SAM 3 page also describes continued support for click-style prompting.
| Need | Reasonable choice | Why |
|---|---|---|
| Learn how promptable segmentation works | Original SAM | Simple API, small checkpoints, well documented |
| Click or box a single object in an image | Original SAM | Fast to prompt once the image is encoded |
| Segment all objects matching a text phrase | SAM 3 | Accepts text and exemplar prompts |
| Follow objects through video | SAM 2 or SAM 3 | Built for tracking across frames |
| A fixed set of known classes, large labelled dataset | A trained segmentation model | Often cheaper and more reliable for a narrow task |
Because the model landscape moves quickly, check Meta’s current repositories and documentation for installation steps and licences before choosing one. The code in this tutorial targets the original segment-anything package.
Limitations of SAM
SAM is impressive, and it is not a drop-in solution for every segmentation problem.
- No semantic labels. The original SAM does not tell you what an object is.
- Ambiguity. One prompt can legitimately mean several things. You have to choose.
- Fine structures and boundaries. Thin objects, fences, hair, and wires can come out ragged or incomplete, a weakness the authors acknowledge in the paper.
- Specialised domains. Medical scans, microscopy, and satellite imagery differ from everyday photos, and results there need careful validation or fine-tuning.
- Over- and under-segmentation. Automatic mode may split one object into pieces or merge neighbours.
- Compute cost. The largest checkpoint is heavy for a laptop or a real-time app.
For medical, safety, or legal uses, treat SAM as an annotation assistant and keep an expert reviewing every mask.
Practical Uses
- Annotation tools: speed up labelling by letting a person click and correct masks.
- Photo editing: cut out subjects or replace backgrounds.
- Data preparation: generate draft masks to train a smaller, specialised model.
- Robotics and inspection: isolate objects of interest before measuring or grasping them.
- Science: outline cells, animals, or land regions as a first pass for review.
Frequently Asked Questions
What is the Segment Anything Model used for?
It generates segmentation masks from prompts such as points, boxes, or rough masks, across many kinds of images, without training on your data.
Is SAM instance segmentation or semantic segmentation?
Neither exactly. The original SAM produces class-agnostic masks for the object or region you prompt. You supply the meaning yourself.
Do I need a GPU to run SAM?
No, but a GPU makes it much faster. The vit_b checkpoint is the practical choice on a CPU.
How do I get a bounding box from a SAM mask?
Find the minimum and maximum x and y positions of the true pixels in the mask, as in the mask_to_bbox helper above.
Can SAM segment objects from a text description?
The original SAM is built around points, boxes, and masks. Newer models in the line, such as SAM 3, add text and example-image prompts.
Where to Go Next
- Run the tutorial on five of your own photos and compare point, box, and automatic modes.
- Draw a mask by hand for one object and compute its IoU against SAM’s result.
- Combine SAM with a detector: use detected boxes as box prompts to get masks with labels.
- Try a text-prompted model such as SAM 3 and compare it with click prompts.
References
- Kirillov et al., Segment Anything (the original SAM paper)
- Meta AI, Segment Anything Model 3 (SAM 3)
- Official code and checkpoints: facebookresearch/segment-anything on GitHub
- Dosovitskiy et al., An Image is Worth 16x16 Words (Vision Transformer)
- Ultralytics documentation: SAM 3